How to set up WireGuard on macOS
WireGuard is fast and simple. You import one small configuration file (or scan a QR code); there is no username or password to type.
Last reviewed
What you need
- An active WireGuard configuration from this site
- The configuration file (.conf) or the QR code from your configuration page
Where each detail goes
| On your configuration page | In the app or settings |
|---|---|
| Configuration file (.conf) | Import tunnel from file — fills every field for you |
| QR code | Create from QR code / Scan from QR code |
| Endpoint | Peer → Endpoint (already in the file) |
| VPN IP | Interface → Addresses (already in the file) |
Steps
-
Install WireGuard from the Mac App Store (link above).
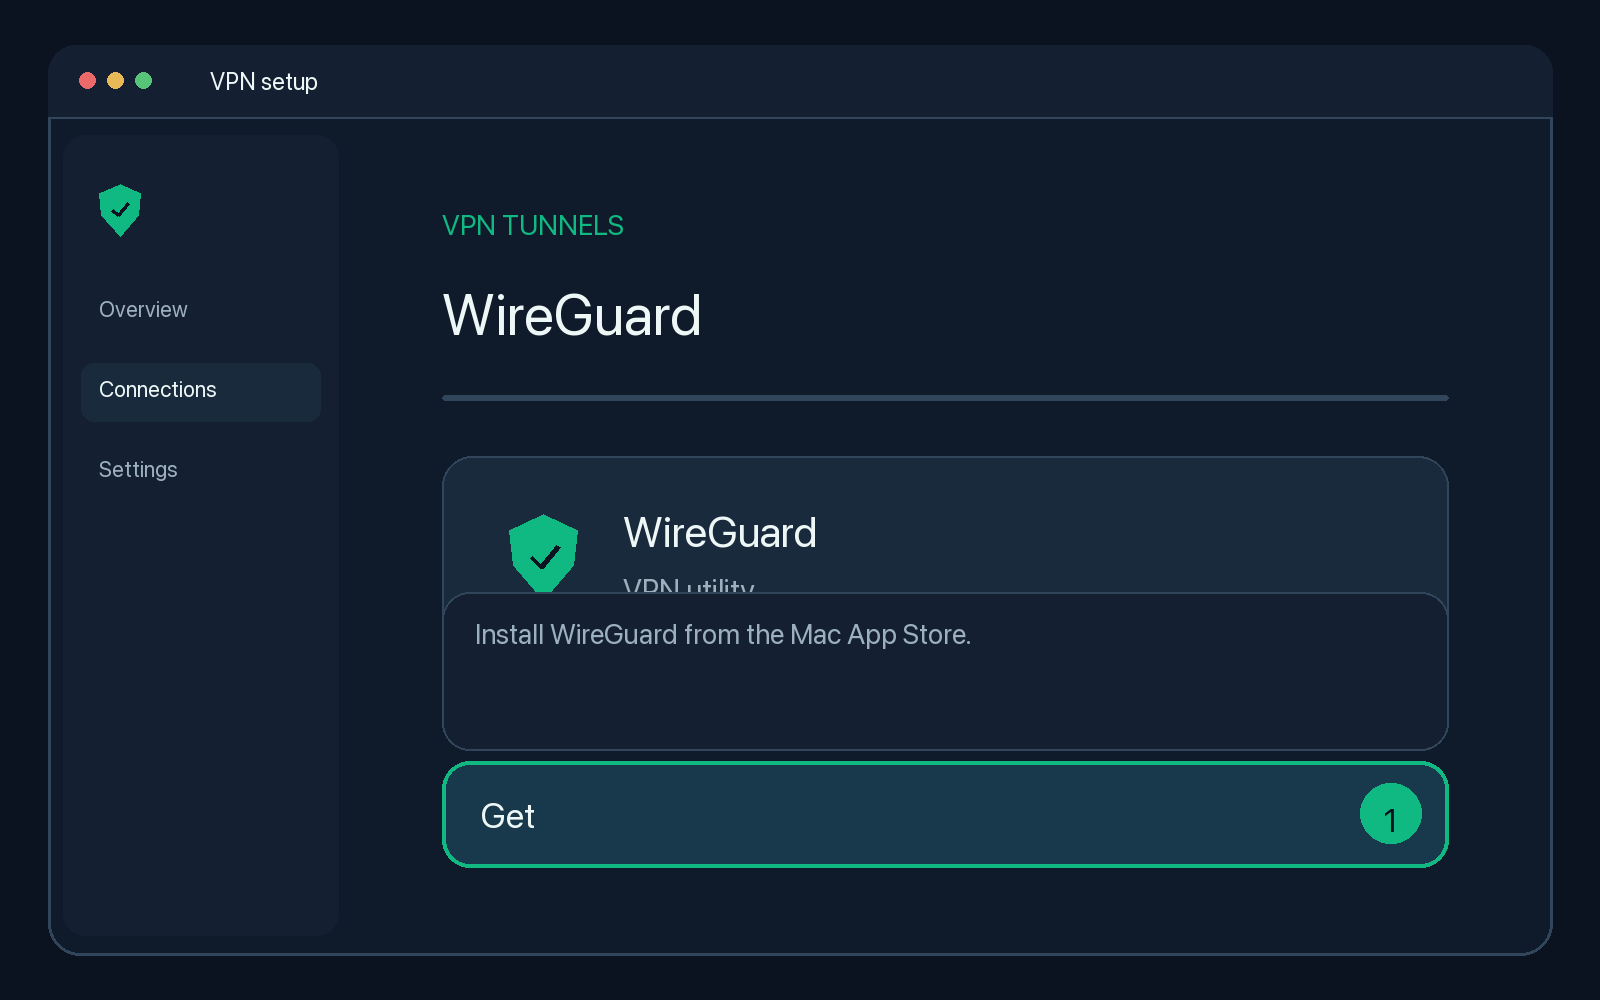
Illustration — your app may look slightly different. -
Download the .conf file from your configuration page.
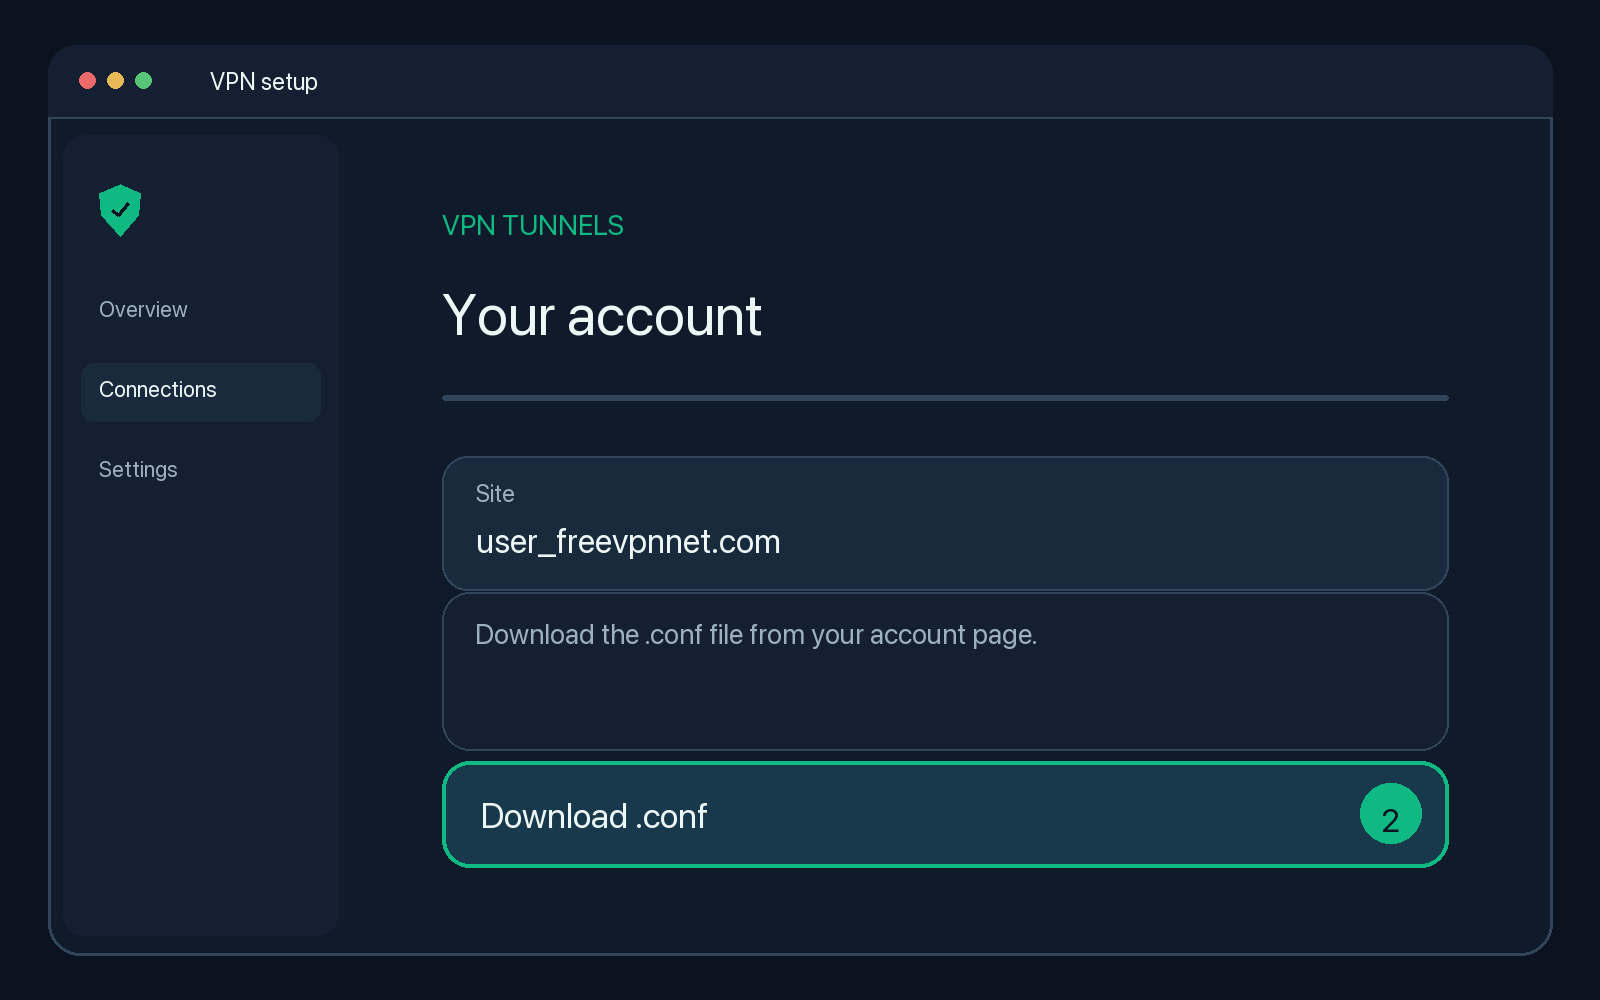
Illustration — your app may look slightly different. -
Open WireGuard, choose Import tunnel(s) from file and select the file.
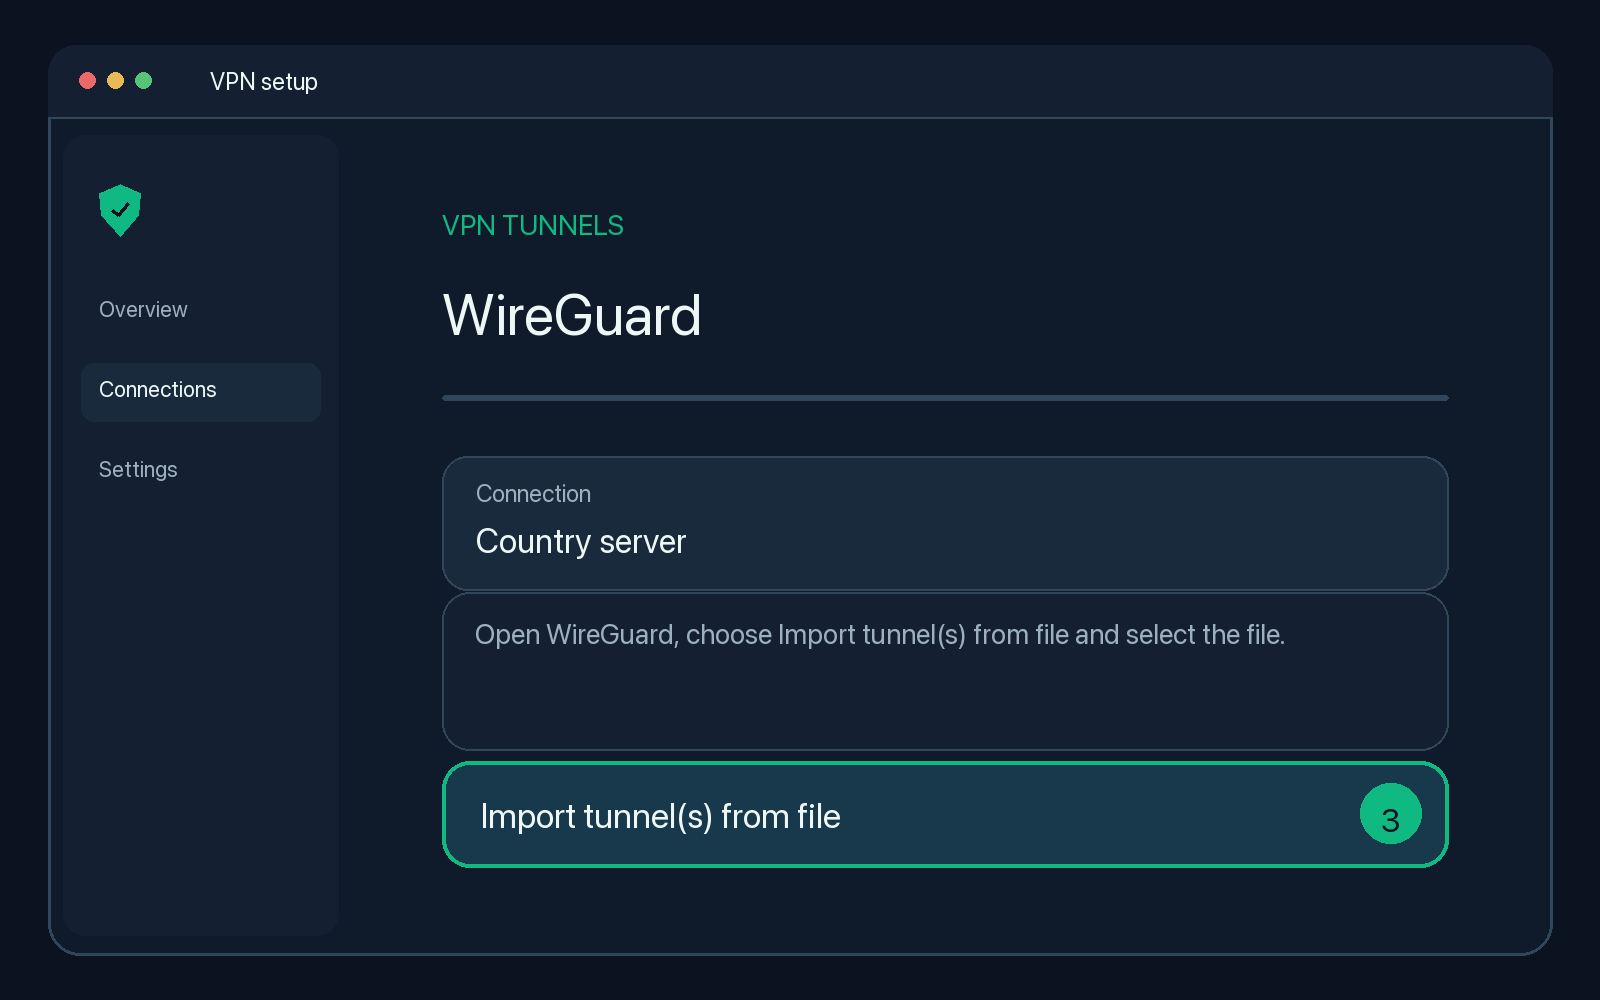
Illustration — your app may look slightly different. -
Click Allow when macOS asks to add VPN configurations.
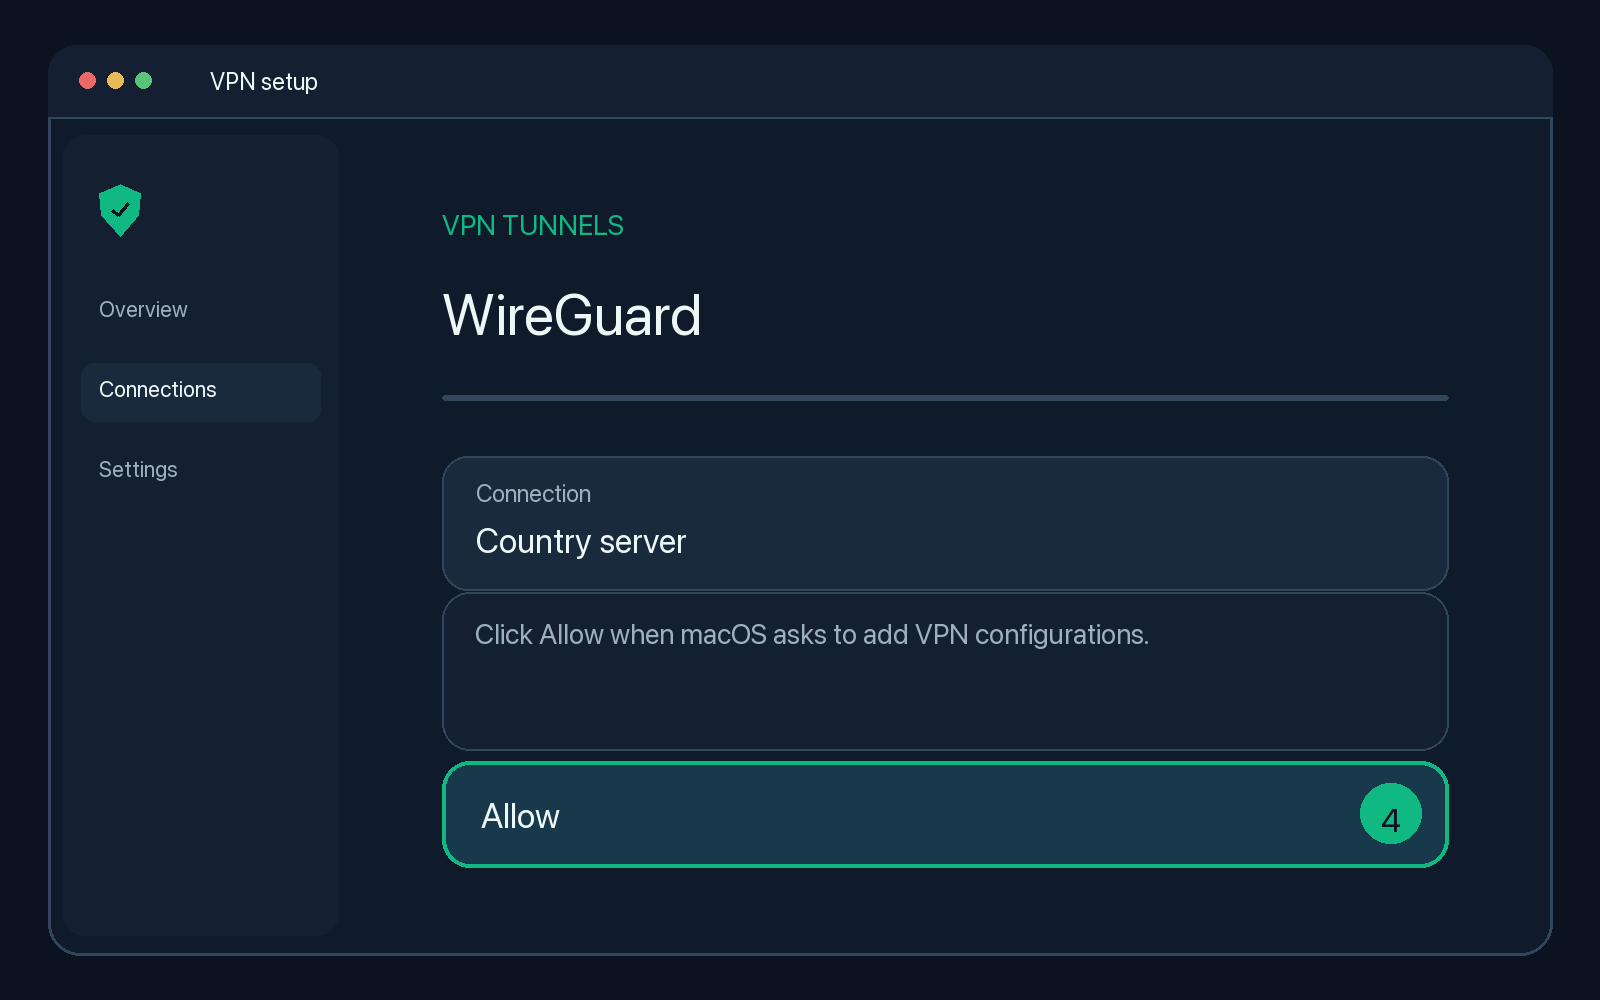
Illustration — your app may look slightly different. -
Click Activate.
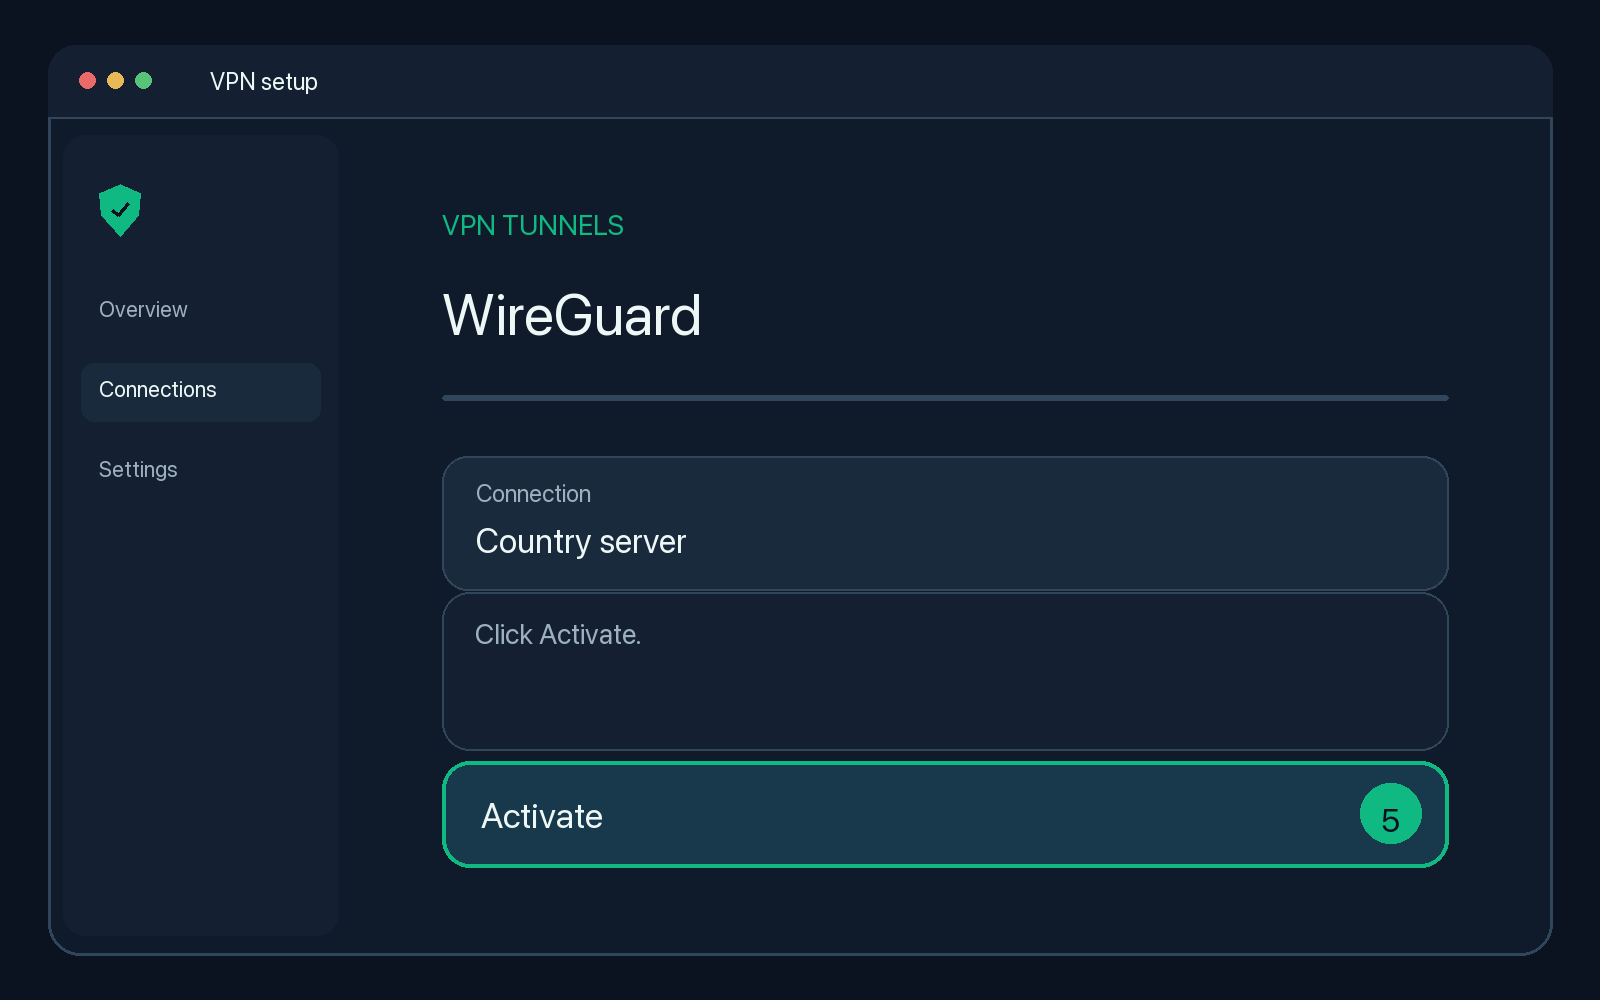
Illustration — your app may look slightly different.
Check that it works
Search the web for "what is my IP". The location shown should match the server country of your account.
Disconnect
Click Deactivate in WireGuard or use the WireGuard menu-bar icon.
Troubleshooting
The tunnel is on but nothing loads
Check that your configuration has not expired (see the countdown on your configuration page). Then switch the tunnel off and on again. Some networks block UDP; if so, try an OpenVPN or V2Ray configuration instead.
Handshake never completes
The configuration is tied to one account. Delete the old tunnel in the app and import the file again from your current configuration page.
I created a new configuration
Every VPN configuration has its own keys. Remove the old tunnel and import the new file or QR code.