How to set up SSH Tunnel on macOS
An SSH tunnel sends your traffic through the server using a username and password. Besides plain SSH, the server also accepts SSH over TLS and over WebSocket, which help on restrictive networks.
Last reviewed
What you need
- An active SSH configuration from this site
- Hostname, ports, username and password from your configuration page
App
Terminal (built in)
Where each detail goes
| On your configuration page | In the app or settings |
|---|---|
| Hostname | Host / Server |
| Port | SSH port |
| SSL/TLS port | SSL/TLS (stunnel) port, with SNI if shown |
| WebSocket port | WebSocket port (and path for WS+TLS) |
| Username / Password | Username / Password |
Steps
-
Open Terminal.
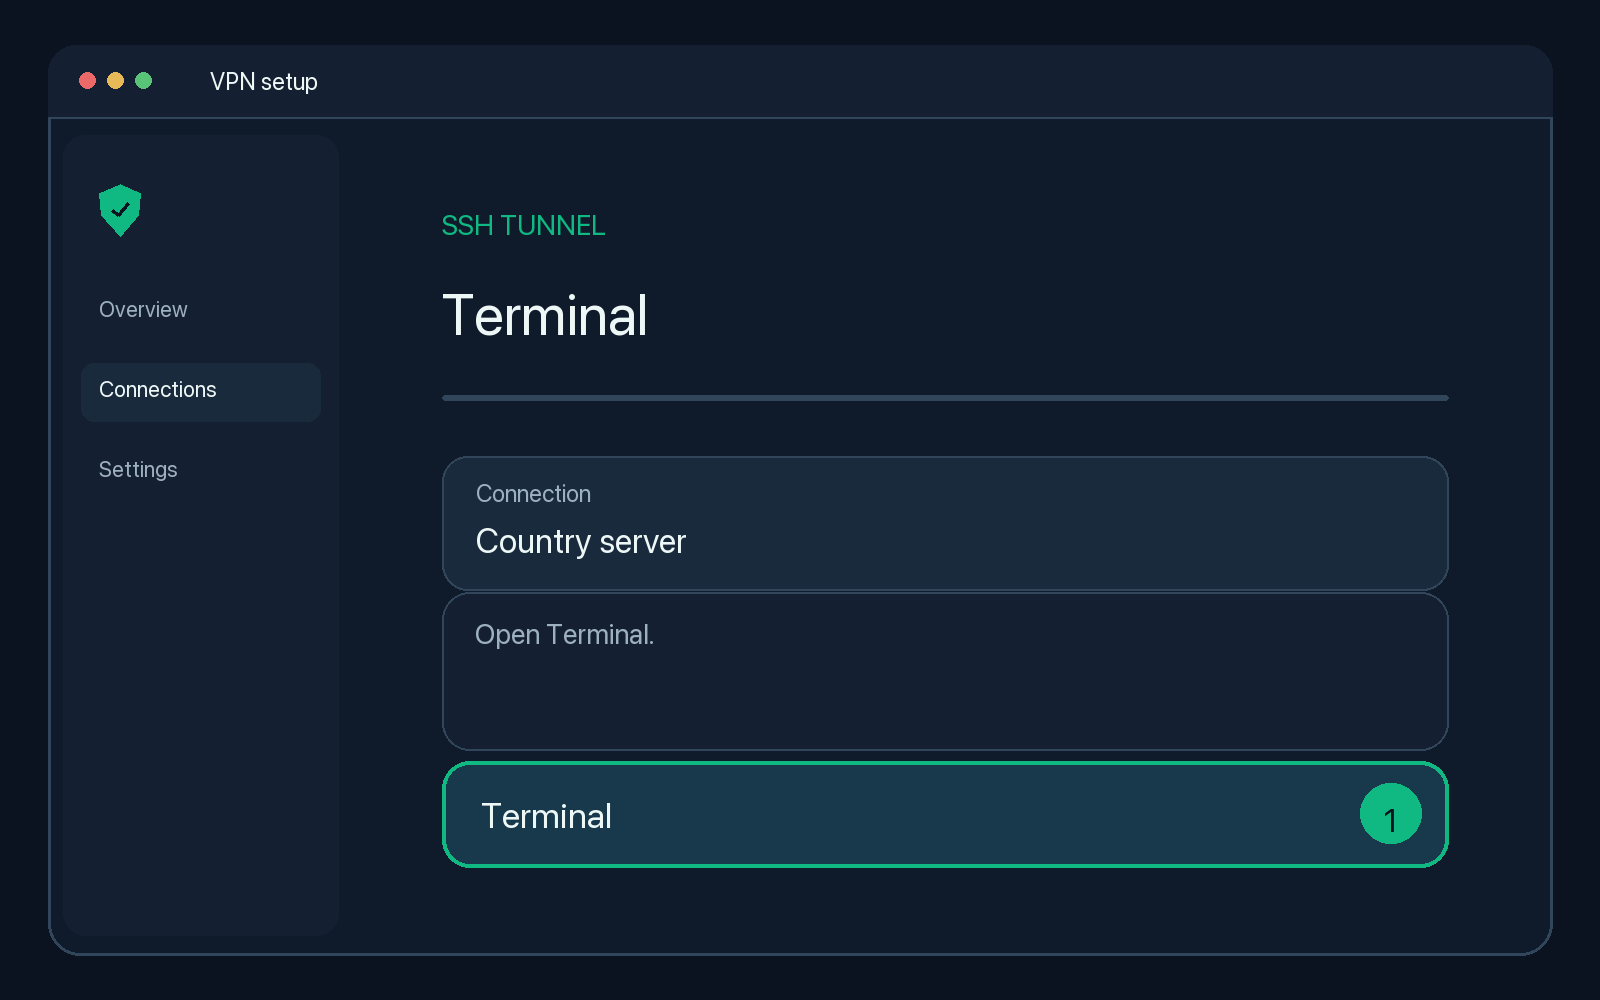
Illustration — your app may look slightly different. -
Run
ssh -N -D 1080 -p <Port> <username>@<Hostname>using the values from your configuration page.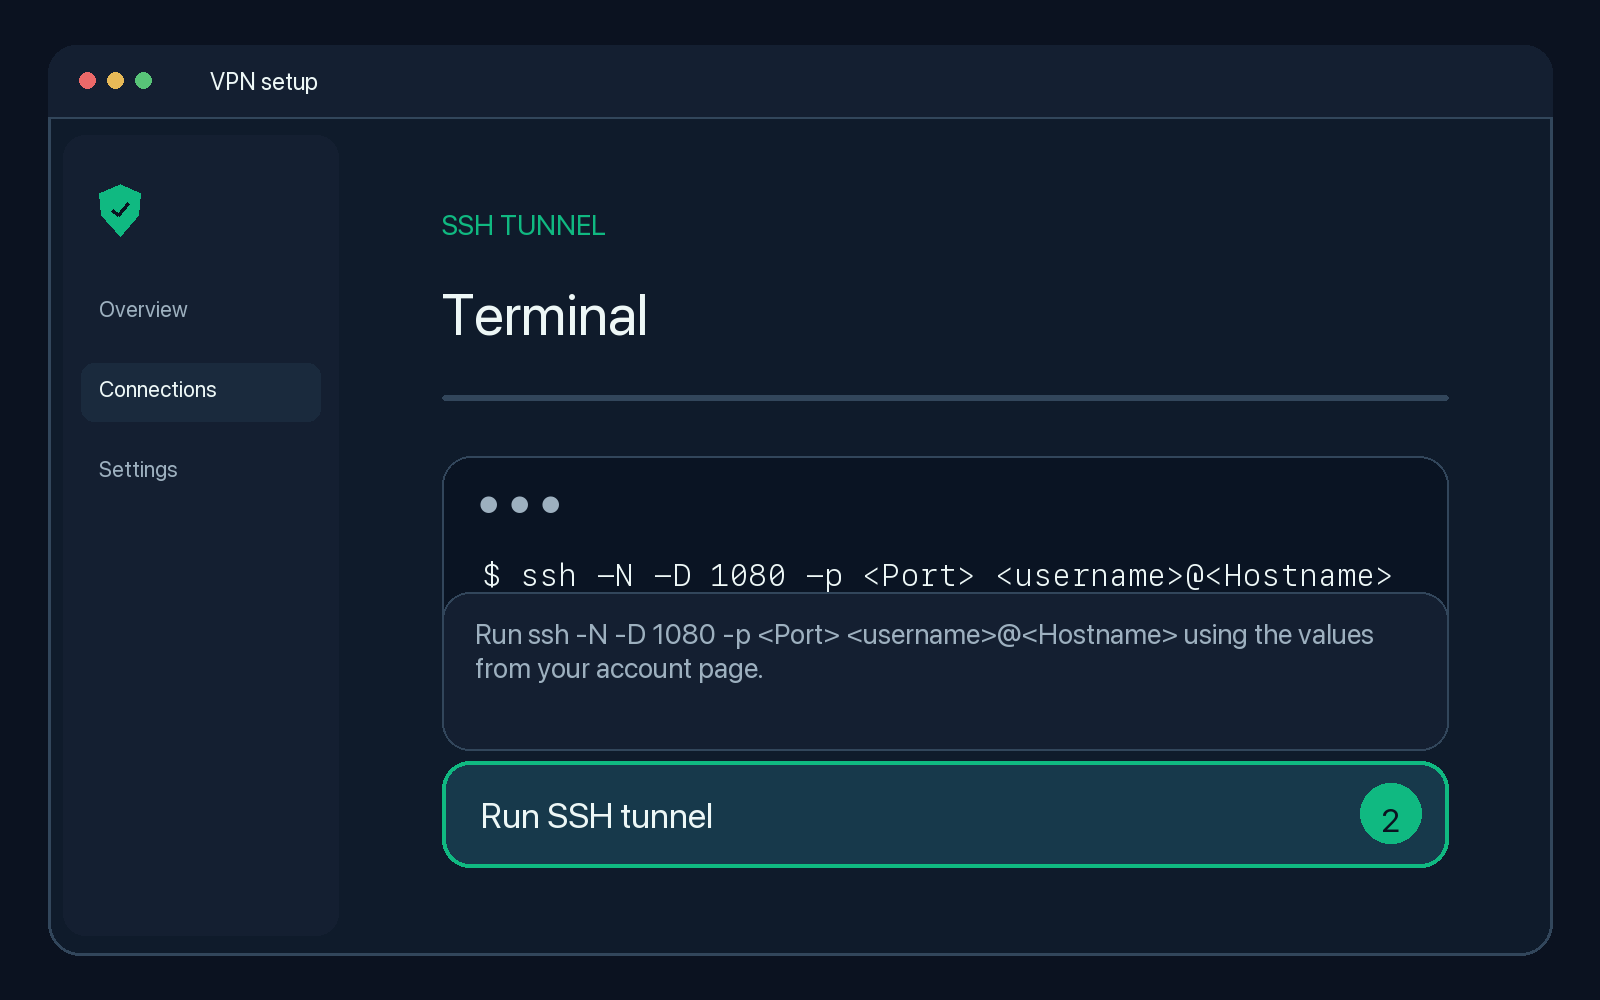
Illustration — your app may look slightly different. -
Type yes to trust the server the first time, then enter your password. Leave the window open.
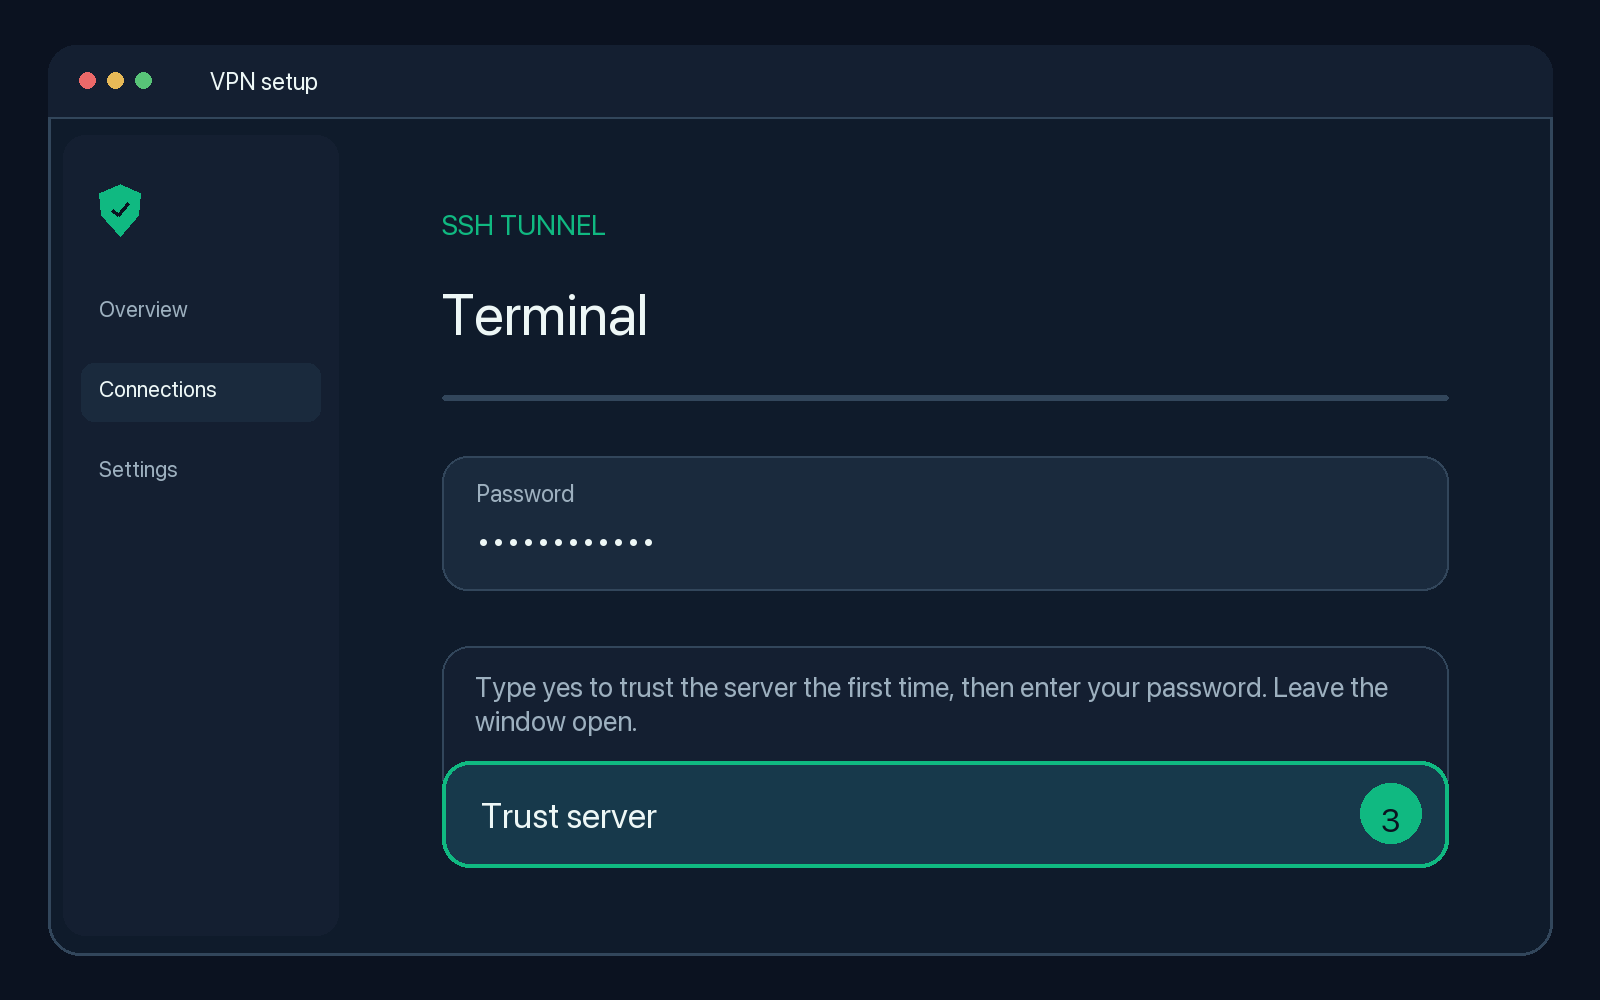
Illustration — your app may look slightly different. -
In System Settings → Network → your connection → Details → Proxies, turn on SOCKS proxy with server 127.0.0.1 and port 1080.
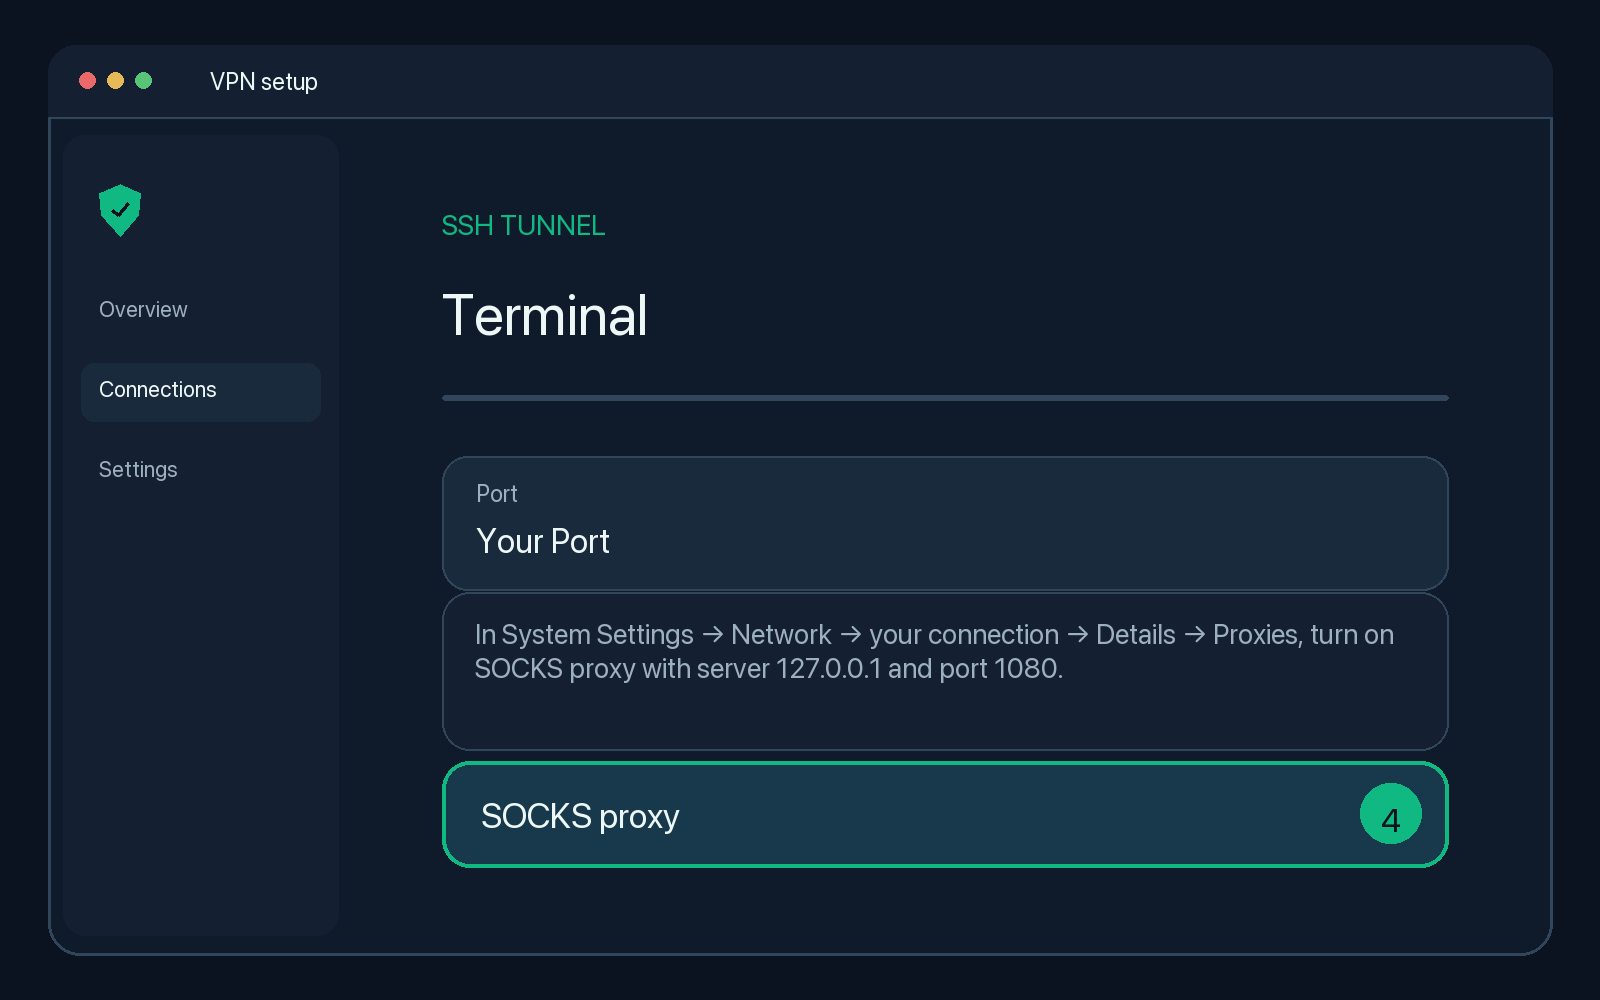
Illustration — your app may look slightly different.
Check that it works
The app shows it is connected (or the terminal stays open without errors). Search the web for "what is my IP" in a browser that uses the tunnel.
Disconnect
Press Ctrl+C in Terminal and turn the SOCKS proxy off.
Tips
Plain
sshdoes not use the TLS or WebSocket ports; use a phone app for those modes.
Troubleshooting
Permission denied / auth failed
Copy the username and password again from your configuration page. The configuration may have expired.
Connection times out
Your network may block port 22. Switch the app to SSL/TLS or WebSocket mode using the ports on your configuration page.
Only the browser uses the VPN
That is normal for a SOCKS proxy on computers. Set the proxy in the system network settings to cover more apps.