How to set up OpenVPN on macOS
OpenVPN works on almost every network. You import a profile file (.ovpn) and sign in with the username and password from your configuration page.
Last reviewed
What you need
- An active OpenVPN configuration from this site
- The profile file (.ovpn)
- Your username and password (shown on the configuration page)
Where each detail goes
| On your configuration page | In the app or settings |
|---|---|
| Profile file (.ovpn) | Import Profile → Upload file (server and port are inside) |
| Username | Username |
| Password | Password (tick "Save password" if you want) |
| Server / Port / Transport | Already in the profile — no need to type them |
Steps
-
Download and install OpenVPN Connect for macOS from openvpn.net (link above).
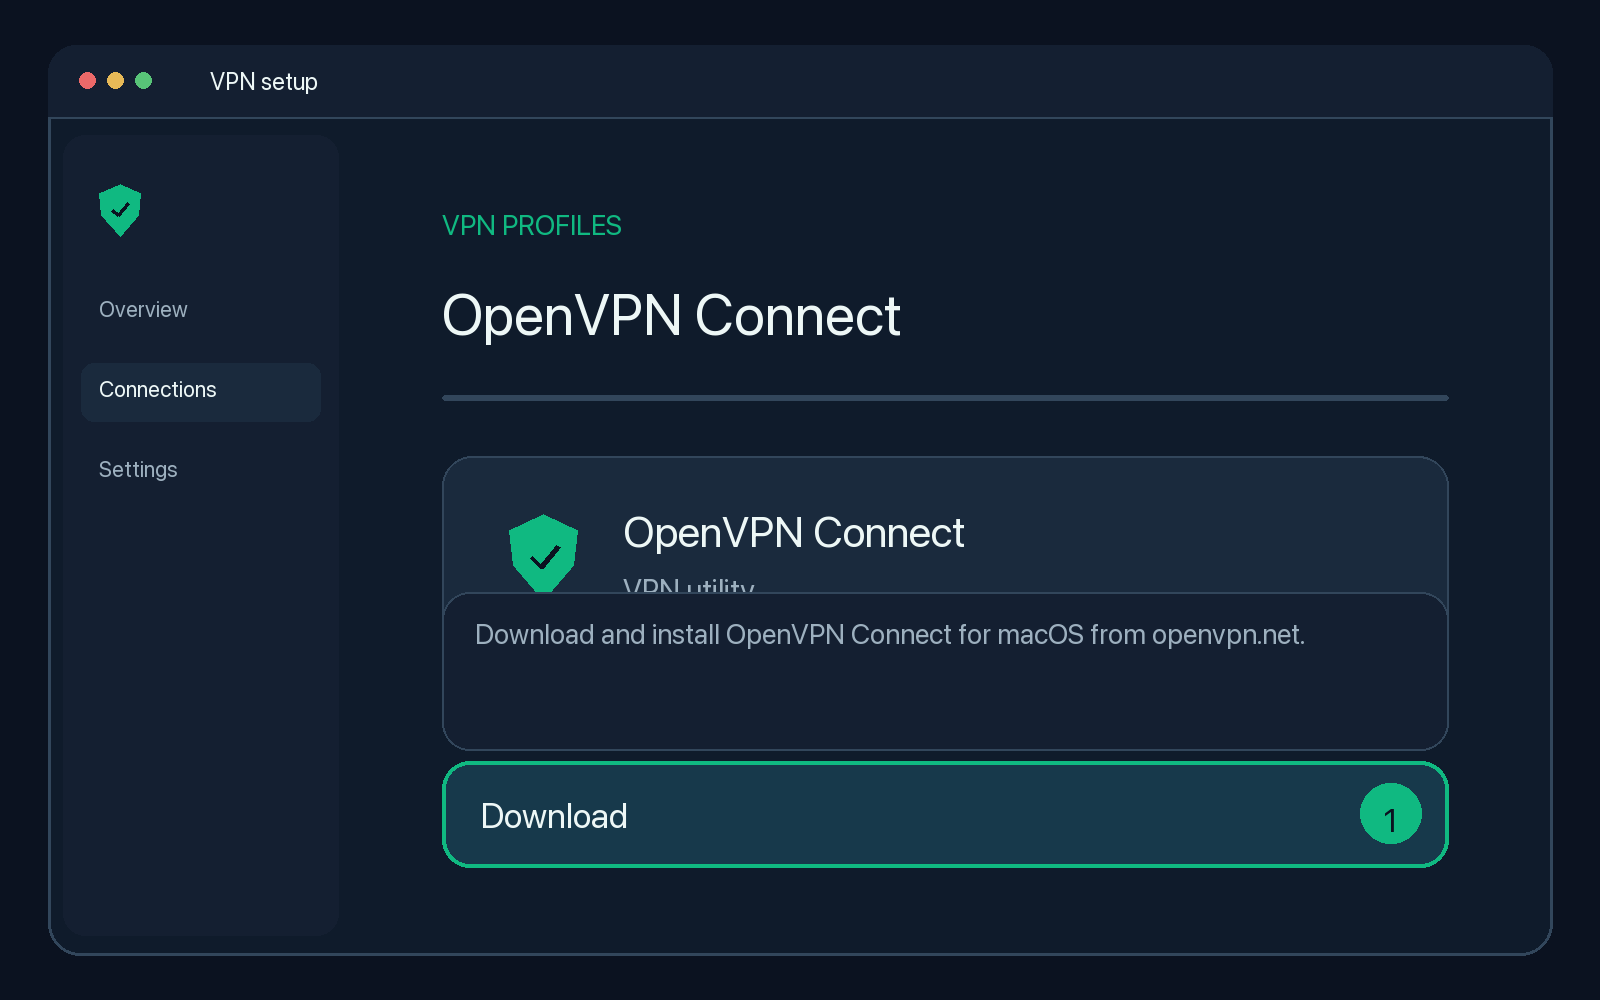
Illustration — your app may look slightly different. -
Download the .ovpn profile from your configuration page.
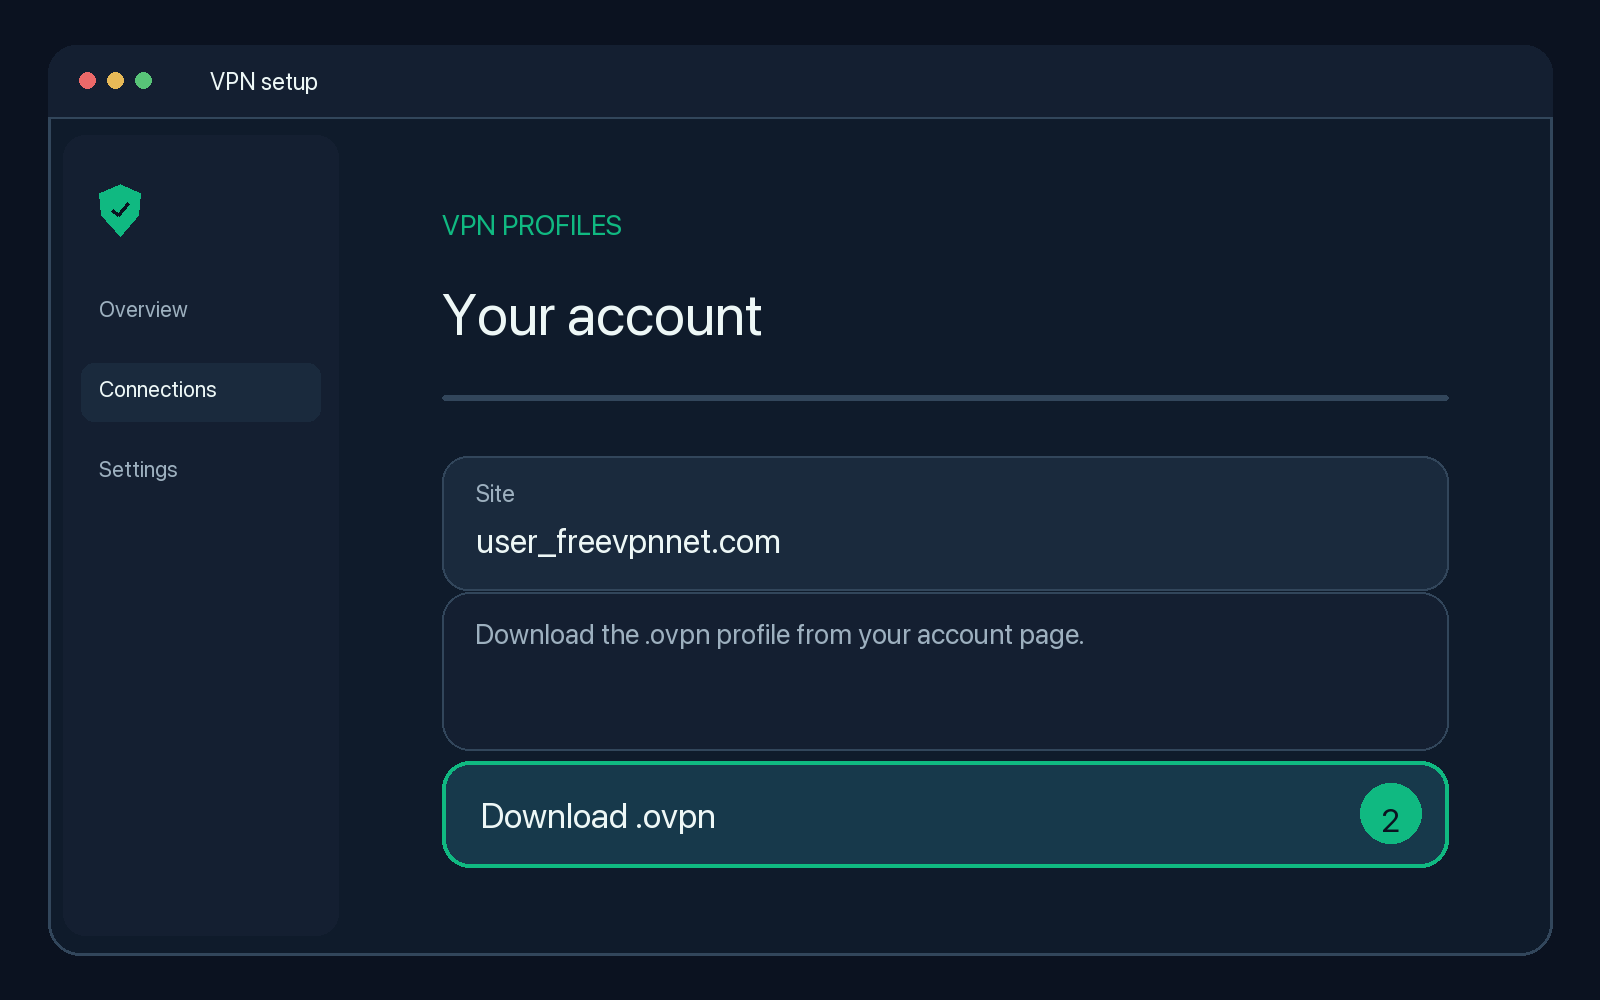
Illustration — your app may look slightly different. -
Choose Import Profile → Upload file and select the file.
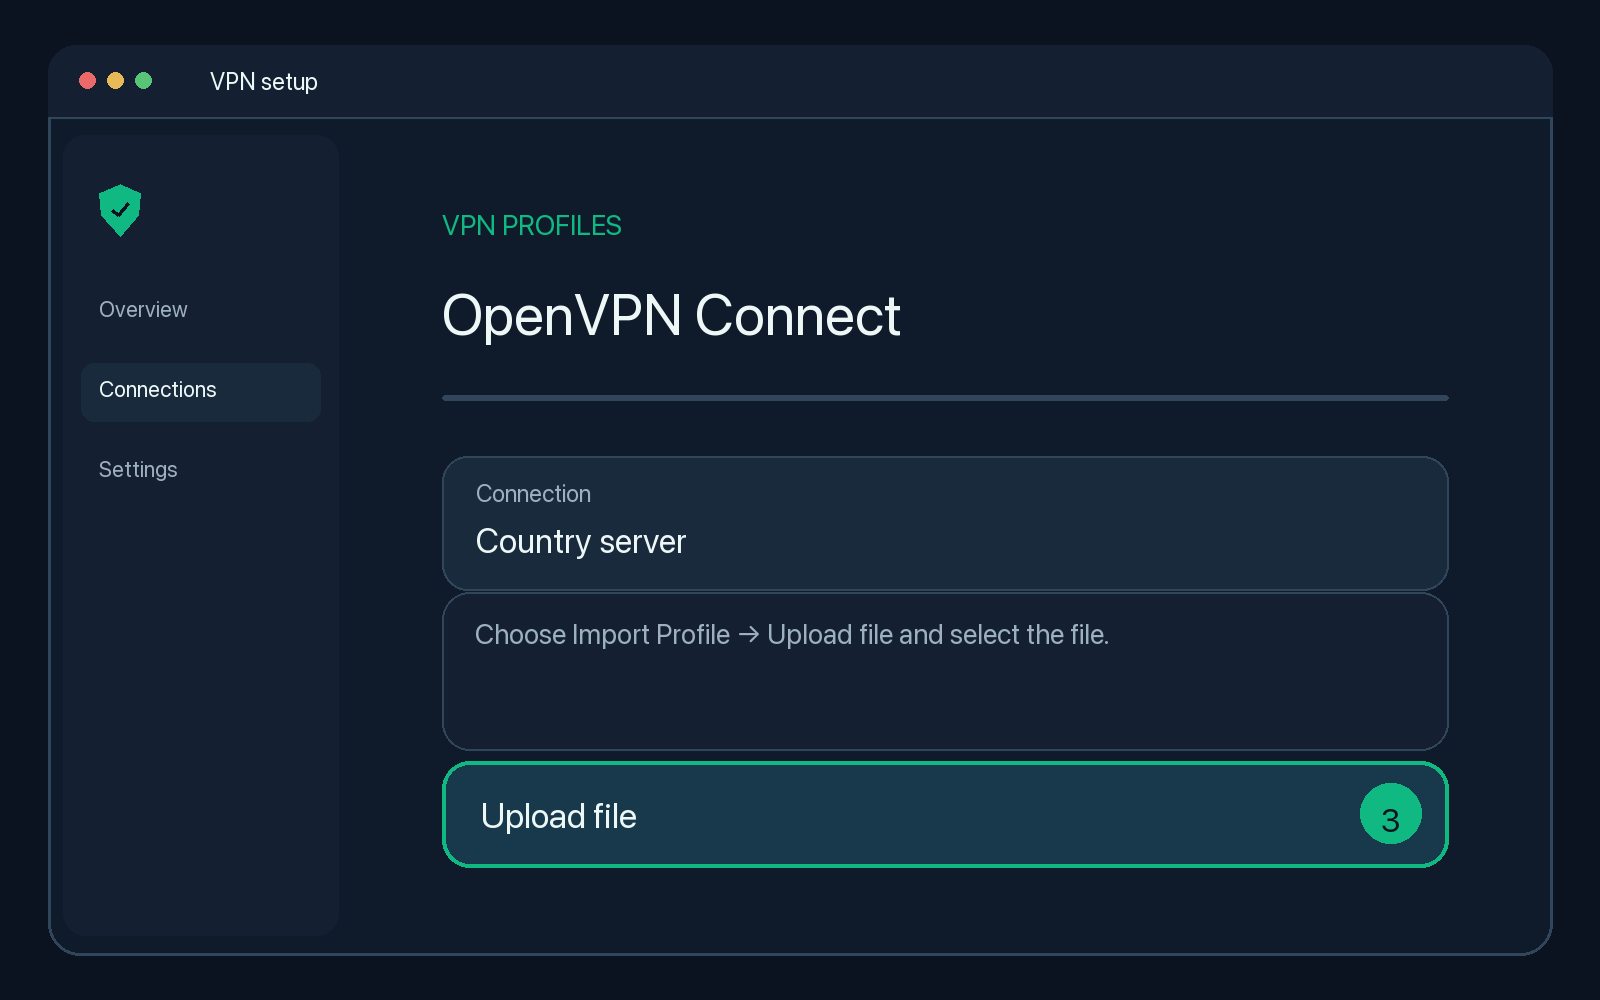
Illustration — your app may look slightly different. -
Enter your username and password, click Connect, and allow the VPN configuration if macOS asks.
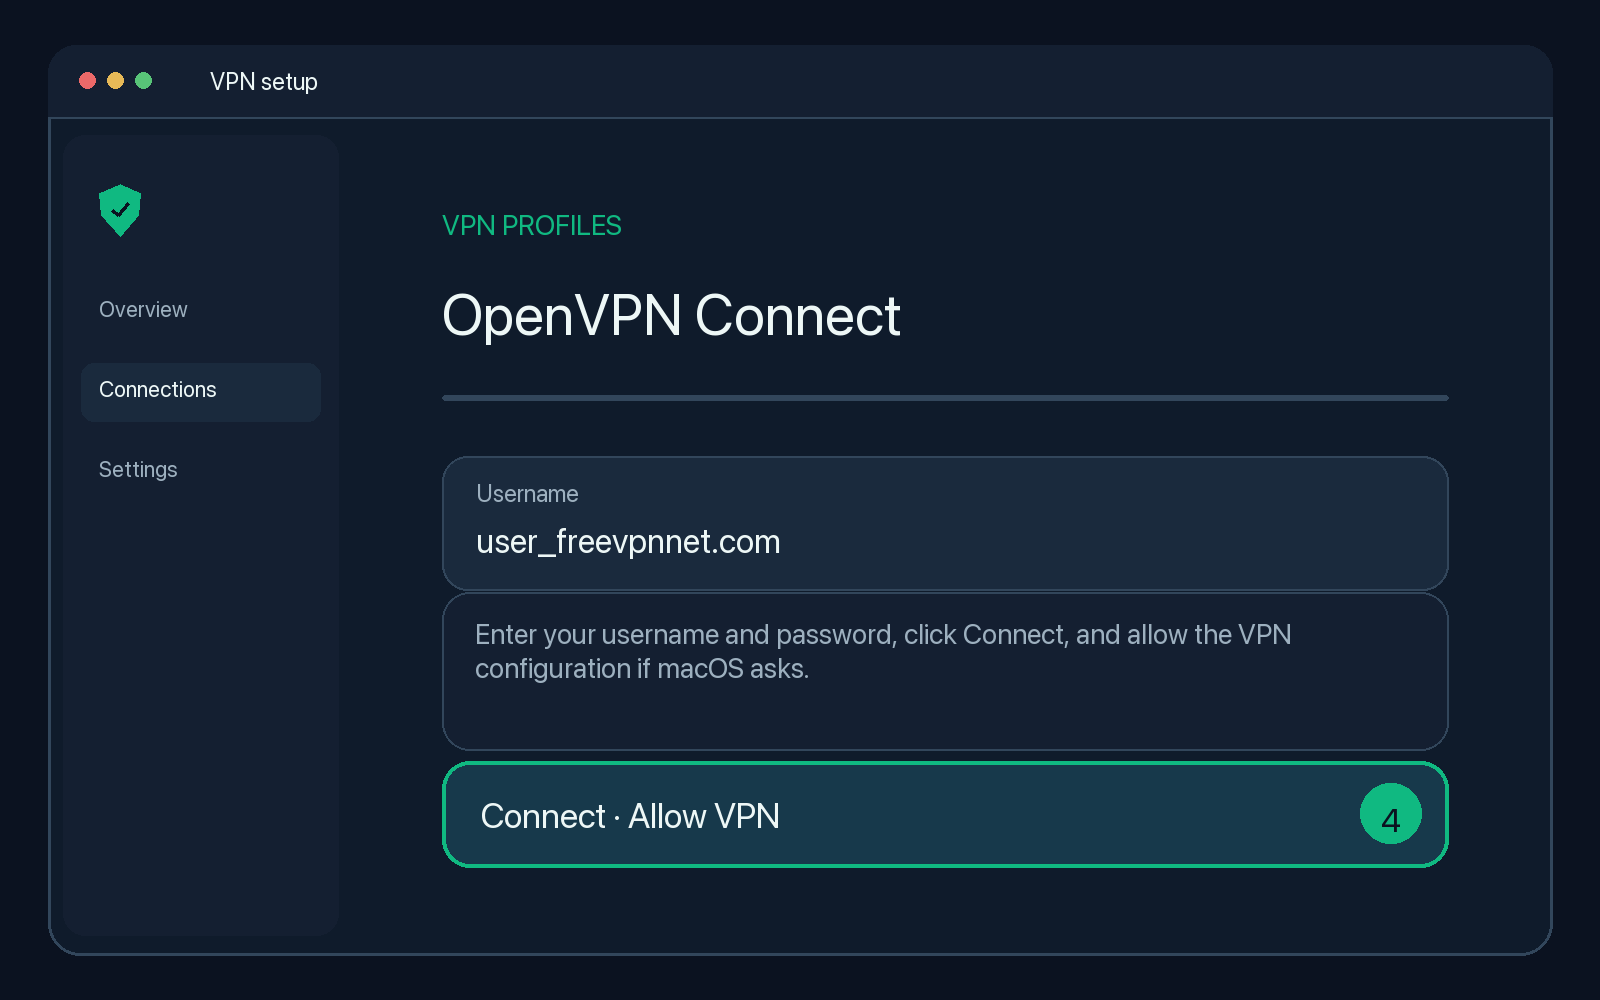
Illustration — your app may look slightly different.
Check that it works
OpenVPN Connect shows "Connected" with a timer. Search the web for "what is my IP"; the location should match your server country.
Disconnect
Click the switch next to the profile.
Troubleshooting
AUTH_FAILED
The username or password is wrong, or the configuration has expired or was revoked. Copy both again from your configuration page (use the copy buttons to avoid typos).
Stuck on "Connecting…"
The network may block UDP. Try another Wi-Fi or mobile data, or use a V2Ray or SSH configuration, which run on port 443.
Profile won't import
Make sure you downloaded the file itself (ending in .ovpn), not the page. Download it again from your configuration page.